My Quick Answer
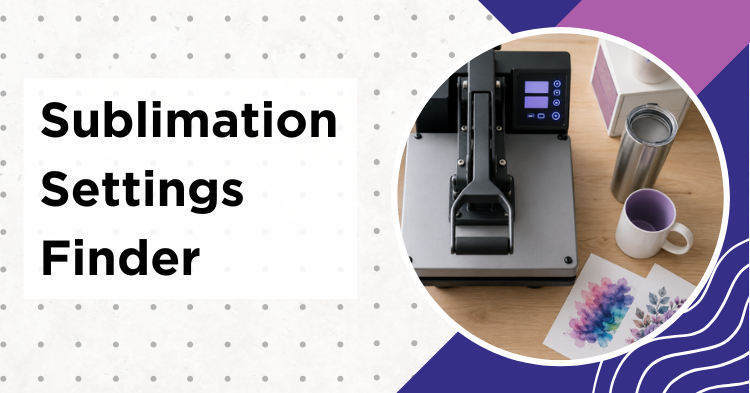
Pick your blank below and this sublimation settings finder gives you the time, temperature and pressure to start from, drawn from our sublimation temperature chart. Always check the instructions for your exact blank first, and when you can, test on a spare piece before a full batch. Treat every number here as a starting point, because presses and coatings vary.
Most sublimation problems are settings problems. Too little heat and the print looks faded. Too much and it scorches. This sublimation settings finder covers 39 blanks, from mugs to slate to neoprene, so you do not have to guess.
Settings are a starting point, not a guarantee. Always follow the instructions that came with your exact blank, then confirm with a test piece. Presses run hotter or cooler than their display, and coatings differ between suppliers.
How to Use These Sublimation Settings
Treat every setting as a starting point and check the instructions for your exact blank before pressing. Start with the number the finder gives you, press one test piece, and look at it before you commit a batch.
If a transfer looks pale, first check the blank, the print, which side of the paper faced the blank, the pressure and the actual press temperature. If those are all correct and it still looks underdeveloped, increase time in small steps before you raise the temperature. If the blank yellows, scorches, warps or develops press marks, stop and check both temperature and time: reduce temperature first when the material looks heat-damaged or melted, and reduce time first when the cycle is simply longer than the supplier recommends. Change only one variable per test.
Two things trip up beginners more than they expect. The first is that a press display shows its sensor reading, not the temperature across the whole platen, so corners and edges can run cooler and the same settings can work on one machine and fail on another. Check uniformity if results vary across the design. The second is moisture, especially in fabric and porous wood-based blanks. A 3 to 5 second pre-press is common for polyester fabric, while wood and MDF may need a longer, product-specific pre-dry.
Why the Same Blank Needs Different Settings
The coating receives the dye, while the material underneath decides how heat reaches that coating. Two ceramic mugs from different suppliers can need noticeably different press times, because their coatings, wall thicknesses and shapes are not identical. A slate coaster may take four to seven minutes, while a thin coated aluminum panel may need only about sixty to ninety seconds: thicker or less heat-conductive blanks take longer for the coated transfer area to reach and hold temperature, and the exact heat path depends on whether you press from the front, from the back, or inside a wrap.
This is why the blank supplier’s instructions always beat a chart, including ours. Use the finder to get in the right range, then let the test piece tell you the rest.
Where the Numbers Come From
Every setting in this tool is pulled from our sublimation temperature chart, which compiles manufacturer guidance across 39 substrates. If you would rather see all of them side by side, the chart is the place to look. If something has already gone wrong, our troubleshooting hub goes deeper than the quick fixes above.
Still setting up? Our sublimation equipment guide covers what you actually need to buy, and what to skip.
