Updated: September 14, 2026
This post contains affiliate links. As an Amazon Associate I earn from qualifying purchases at no extra cost to you.
My Quick Answer
Sublimation on leather works best on faux (PU) leather, not genuine leather. Sublimation-ready PU faux leather has a coating that accepts dye for bright, lasting prints, but settings vary a lot by blank: some press around 385F for 50 seconds, others as low as 310 to 330F, and most do best with light pressure. Genuine leather has no polymer, so it only gives a weak, muted result and is really experimental unless it is sublimation-coated. Always follow the blank maker instructions and test on a scrap first, because leather scorches and marks easily.
Last Updated: June 2026
Sublimation on leather is one of those projects that looks simple until your first press comes out faded, scorched, or stiff. The truth most quick guides skip is that “leather” is not one material. Faux leather and genuine leather behave very differently under a heat press, and using the wrong settings on the wrong type is the number one reason leather projects fail.
This guide explains which leather actually works, the exact settings to use, and the mistakes that ruin a blank. If you are brand new to the process, start with our sublimation printing guide first, then come back here.
Sublimation on Leather: Faux vs Genuine
Sublimation only works when the dye can diffuse into a compatible polymer (a plastic-based coating or polyester fibers). When heated, the dye leaves the paper, diffuses into the polymer, and locks in as it cools. That single fact decides everything about leather.
Sublimation-ready PU faux leather is the reliable choice. Its polyurethane coating behaves like a polymer, accepts dye evenly, and gives bright, sharp, permanent prints, especially on a smooth, slightly glossy surface. But do not assume every faux leather works. Much vegan leather, leatherette, and PVC or vinyl material is not sublimation-coated, and PVC in particular is heat-sensitive and can give off irritating fumes when overheated. Only press PVC-type materials if the supplier specifically says they are sublimation or heat-press safe, and always work in a well-ventilated space.
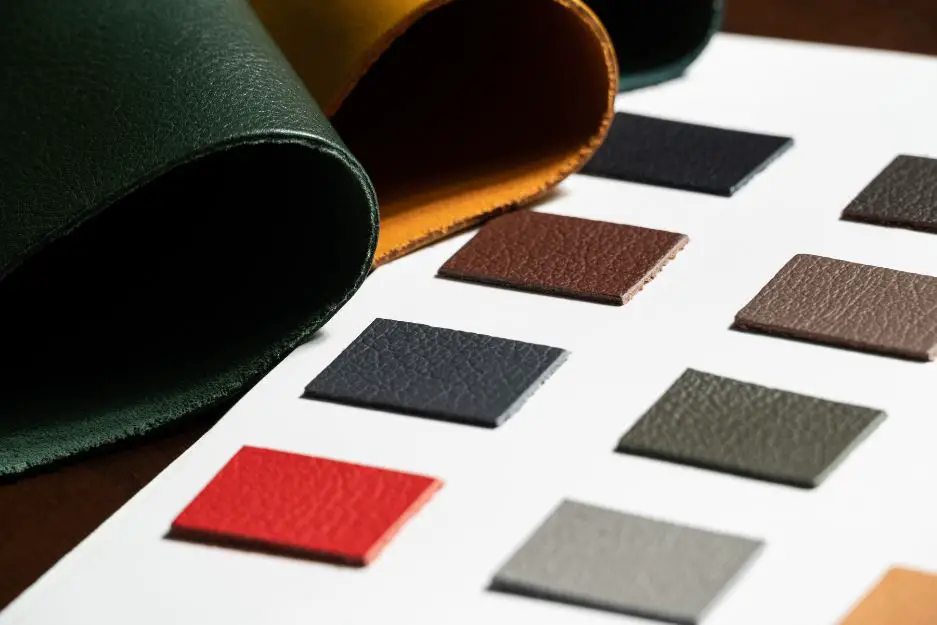
Genuine leather is limited. Real leather is made of natural collagen fibers with no polymer for the dye to bond to. Unless it has a sublimation or polymer coating, genuine leather is really experimental: at best you get a weak, muted, antiqued stain, and at worst it scorches, stiffens, or dries out. If you like that faded character, it can suit small items like patches or key fobs, but for reliable color use sublimation-ready PU faux leather, or decorate genuine leather with HTV, DTF, or leather paint instead.
If you want the underlying chemistry, the dye-sublimation heat transfer process and the broader dye-sublimation printing method are both well documented: the polymer opens under heat to let the dye in, then closes as it cools to trap it. No polymer means nothing to trap the dye, which is exactly why genuine leather stays muted.
Sublimation on Leather Settings (Time and Temperature)
There is no single universal number, so always start from your blank or transfer maker recommendation. The starting points below vary widely by blank, so treat them as a range, not a rule. On leather, both too much heat and too much pressure are the main ways projects fail.
| Leather Type | Temperature | Time | Pressure | Result |
|---|---|---|---|---|
| Faux / PU leather (best) | 310-330F or ~385F (per blank) | 45-60 sec | Light (avoid firm) | Bright, sharp, permanent |
| PVC / vinyl faux | Only if supplier confirms safe | Supplier setting | Light | Heat-sensitive + fume risk, ventilate |
| Genuine (uncoated) | Not recommended | Low, test only | Light | Weak/muted at best; use coated or HTV/DTF |
My tip: leather is heat-sensitive, so it scorches, darkens, or curls far more easily than a shirt or a mug. Always start from the blank maker recommended setting. If you have no guidance, start low with light pressure and raise it in small steps, because both extra time and extra temperature can scorch, shrink, or stiffen leather. Always use butcher paper above and below the blank to protect both the leather and your press platen.
How to Sublimate Faux Leather Step by Step
The process is straightforward once you know the leather will cooperate. Here is the workflow I recommend.
Print and mirror your design. Print onto sublimation paper with sublimation ink, and remember to mirror the image so text reads correctly after pressing. Trim away the large white margins so only the design area sits on the blank.
Pre-press the blank. Press the faux leather alone for 5 to 10 seconds to remove moisture and flatten it. Moisture is a common cause of faded or blotchy leather prints.
Position and tape. Place the transfer face down on the leather and secure it with heat-resistant tape so nothing shifts. Any movement during the press causes ghosting.
Press with butcher paper. Lay butcher paper above and below the blank, then press at the setting for your leather type from the table above, using light pressure. Even temperature control matters here, since hot spots scorch leather quickly, and firm pressure can permanently emboss seams, stitching, or tape lines into the surface. The Vevor 8-in-1 heat press is a budget option with adjustable temperature control.
Peel and cool. Open the press, remove the paper, and let the leather cool flat. Peeling timing depends on your transfer, so follow its instructions, but cooling under a little weight helps keep the leather from curling.
If you prefer to watch the process, this short video walks through a leather sublimation project from start to finish.
Tips for Better Leather Sublimation
Always test on a scrap piece. Leather varies a lot between suppliers, even within the same “PU leather” label. A quick test press tells you the exact temperature and time before you risk a real blank.
Choose smooth over heavily textured. Smooth faux leather transfers crisp detail. Deep grain or texture breaks up fine lines and small text, so keep designs bolder on textured blanks.
Watch for scorching. If the leather darkens, yellows, or stiffens, your temperature is too high or your time too long. Drop the temperature first. This is the most common leather mistake, and it is not fixable once it happens.
Genuine leather is experimental. Uncoated genuine leather is experimental: if you press it hoping for vibrant color, you will be disappointed. Expect a weak, muted result at best, and for reliable color switch to sublimation-ready PU faux leather, HTV, DTF, or leather paint. For other tricky surfaces, our guides on sublimation on acrylic and sublimation on glass follow the same test-first approach.
FAQs
Can you sublimate on genuine leather?
Only reliably if it has a sublimation or polymer coating. Uncoated genuine leather has no polymer for the dye to bond to, so you get a weak, muted result at best, and it can scorch or stiffen. For bright, sharp prints use sublimation-ready PU faux leather, or decorate genuine leather with HTV, DTF, or leather paint instead.
What temperature do you use for sublimation on faux leather?
It varies by blank. Common starting points are 310 to 330F or about 385F for 45 to 60 seconds, almost always with light pressure and butcher paper. Avoid firm pressure, which embosses texture and seams. PVC or vinyl faux leather is heat-sensitive and can give off fumes, so only press it if the supplier confirms it is safe, and ventilate. Always check the blank maker and test on a scrap first.
Why does my leather sublimation look faded?
The most common reasons are using genuine or uncoated leather (no polymer to hold the dye), temperature too low, time too short, or moisture in the blank. Pre-press the leather for 5 to 10 seconds to remove moisture, confirm you are using sublimation-ready PU faux leather, and raise the setting in small steps if the print is still light.
Do you mirror the design for leather sublimation?
Yes. As with any flat sublimation transfer, mirror your design before printing so text and directional images read correctly once the transfer is pressed face down onto the leather.
Can you use low pressure for leather sublimation?
Light to very light pressure is best for most PU faux leather, because firmer pressure embosses texture, seams, and press marks that will not come out. Use just enough pressure for full contact, and increase only if a test shows poor transfer.
Can you remove sublimation ink from leather?
It is very difficult. Once the dye is embedded in the polymer coating, it is permanent, and solvents can damage faux leather. Treat a bad press as a learning blank rather than something to salvage. Our sublimation ink removal guide covers what is realistic for different surfaces.
Conclusion
Sublimation on leather comes down to the material. Sublimation-ready PU faux leather is the reliable choice for bright, durable prints. Genuine uncoated leather is experimental and usually gives weak, muted results, so test it first or choose HTV, DTF, or leather paint instead. Follow the blank maker setting, use light pressure and butcher paper, and always test first. If you plan your artwork in your design software and mirror it before printing, your first real press should come out clean.


Emily Johnson is a DIY crafter and the founder of SublimationGuides.com. She started out repairing and sewing clothes for her two sons, then discovered sublimation as a way to personalize her makes. Today she researches and shares honest, tested guides on sublimation settings, troubleshooting, and equipment.
Hi! Great article! Does the heat not cause long term damage to the leather? Do you use chrome tan, veg tan or aniline leather? Thank you!
The temperature for leather sublimation is fairly low (300°F) as compared to fabric and leather starts shrinking at 390°F. So if you are following the right temperature and time for the heat press, there will be no such damage.
Faux Leather and Genuine Leather also known as Natural leather are considered the best leather for sublimation.
I Hope that helps!